Embark on a culinary adventure to perfect home chef fried chicken right in your kitchen. This comprehensive guide breaks down every step, from selecting the best chicken and mastering the brine to crafting an irresistible crispy coating and achieving the ideal fry. Learn to troubleshoot common issues and elevate your dish with practical tips, ensuring every bite of your homemade fried chicken is a triumph of flavor and texture.
There’s something uniquely comforting and incredibly satisfying about a perfectly cooked piece of fried chicken. It’s a dish that evokes memories of family gatherings, backyard barbecues, and simple, delicious indulgence. While many might think of fried chicken as a takeout treat or a restaurant specialty, the truth is, making exceptional fried chicken in your own kitchen is entirely achievable. In fact, embracing the role of a true home chef means taking on challenges like this and transforming humble ingredients into something extraordinary.
This isn’t just about following a recipe; it’s about understanding the art and science behind what makes fried chicken truly great. It’s about the journey of becoming a home chef who can consistently deliver crispy, juicy, and flavorful chicken that rivals any professional establishment. Forget bland, soggy, or dry chicken. We’re here to guide you through every step, equipping you with the knowledge and confidence to craft the ultimate home chef fried chicken. Get ready to impress your family and friends, and most importantly, yourself, with a dish that will quickly become a cherished staple in your culinary repertoire.
Key Takeaways
- Brining is Essential: Soaking chicken in a buttermilk or seasoned brine is crucial for tenderizing the meat and infusing it with flavor, preventing it from drying out during frying.
- Master the Breading: A multi-stage breading process, often involving a wet dredge followed by a seasoned flour mixture, ensures a thick, craggy, and supremely crispy crust that adheres well.
- Temperature Control is Paramount: Maintaining the correct oil temperature (starting higher, then adjusting) is vital for achieving chicken that is perfectly cooked through, golden brown, and crispy without being greasy or burnt.
- Quality Ingredients Matter: Starting with fresh, high-quality chicken and using fresh, good-quality oil, along with a well-balanced spice blend, directly impacts the final taste and texture of your home chef fried chicken.
- Resting is Not Optional: After frying, allowing the chicken to rest on a wire rack lets residual heat finish cooking, redistributes juices, and helps maintain the crispness of the crust.
- Don’t Overcrowd the Pan: Frying in batches prevents the oil temperature from dropping too drastically, which can lead to soggy or greasy fried chicken. Give each piece space to cook evenly.
- Practice Makes Perfect: Achieving restaurant-quality home chef fried chicken takes practice. Don’t be discouraged by initial attempts; learn from each batch and refine your technique.
Quick Answers to Common Questions
How long should I brine chicken for fried chicken?
You should brine chicken for at least 4 hours, but ideally overnight (8-12 hours) and up to 24 hours for the best flavor and tenderness in your home chef fried chicken.
What is the ideal oil temperature for frying chicken?
Start with your oil at 350-375°F (175-190°C), then adjust to maintain a consistent 325-350°F (160-175°C) once the chicken is added, ensuring thorough cooking and a crispy crust.
How do I know when my fried chicken is fully cooked?
The best way to tell is by checking the internal temperature with an instant-read thermometer. Chicken is safely cooked when it reaches 165°F (74°C) in the thickest part of the meat.
Why is my fried chicken crust falling off?
The crust might be falling off if the breading wasn’t allowed to set, the oil temperature was too low, or you overcrowded the pan. Chilling breaded chicken and maintaining proper oil temperature can help.
Can I make home chef fried chicken ahead of time?
While best served fresh, you can make it a few hours ahead and keep it warm in a low oven (around 200°F / 93°C) on a wire rack. For reheating, an oven or air fryer will help restore crispness, avoiding a microwave.
📑 Table of Contents
The Foundation of Flavor: Brining and Marinating
Before a single piece of chicken hits the hot oil, its fate is often sealed in a flavorful bath. Brining or marinating isn’t just an extra step; it’s a critical foundation for tender, juicy, and well-seasoned home chef fried chicken. Skipping this can lead to dry, bland results, even with perfect frying technique.
Why Brine or Marinate?
Think of brining as an insurance policy against dry chicken. A brine, typically a salt and sugar solution, works through osmosis to infuse moisture and flavor deep into the meat. The salt also helps to denature the protein fibers, leading to a more tender texture. Marinating, on the other hand, often involves an acidic component (like buttermilk or vinegar) that helps tenderize the chicken and adds distinct flavors from herbs and spices. Both methods significantly enhance the end product, making your home chef fried chicken truly stand out.
Classic Buttermilk Soak
The buttermilk soak is a time-honored tradition for fried chicken, and for good reason. Buttermilk contains lactic acid, which gently tenderizes the chicken without breaking down the proteins too much, unlike stronger acids. It also acts as a fantastic vehicle for spices, helping them cling to the chicken and providing a natural sticky base for your breading. For your home chef fried chicken, a buttermilk soak is highly recommended.
Example: Basic Buttermilk Brine Recipe
To prepare a basic buttermilk brine, you’ll need:
- 4 lbs chicken pieces (thighs, drumsticks, breasts, wings)
- 2 cups buttermilk
- 2 tablespoons salt (kosher or sea salt preferred)
- 1 tablespoon black pepper
- 1 teaspoon paprika
- 1 teaspoon garlic powder
- 1/2 teaspoon cayenne pepper (optional, for a little kick)
Combine all ingredients in a large bowl or a resealable bag. Add the chicken, ensuring all pieces are fully submerged. Cover and refrigerate for at least 4 hours, or preferably overnight (up to 24 hours). This simple step is a game-changer for your home chef fried chicken.
The Science of Tender Chicken
Beyond flavor, brining and marinating actively improve the texture of your chicken. The salt in a brine dissolves some of the muscle proteins, reducing their tendency to contract and toughen during cooking. This means your chicken will stay moist and tender, even when cooked to a crisp golden brown. Buttermilk’s mild acidity also contributes to this tenderizing effect, ensuring every bite of your home chef fried chicken is melt-in-your-mouth delicious.
Achieving the Perfect Crust: Breading Techniques
The crust is arguably the most defining characteristic of excellent fried chicken. It needs to be shatteringly crisp, richly flavored, and adhere perfectly to the meat. A home chef knows that a great crust doesn’t happen by accident; it’s the result of careful technique and a well-balanced breading mix.
The Double-Dredge Method
For truly irresistible crunch, embrace the double-dredge method. This involves dipping your brined chicken first into a wet mixture (often back into the buttermilk or an egg wash), then into your seasoned flour, then repeating the process. This builds up a thicker, more textured coating that creates those beautiful, craggy bits that are synonymous with classic home chef fried chicken. The extra layer also acts as an insulation layer, helping the chicken cook more evenly.
Flour Mix Magic (Spices, Leavening)
Your seasoned flour mixture is where a lot of the flavor magic happens. Don’t be shy with spices! A good basic blend includes salt, black pepper, paprika, garlic powder, onion powder, and a pinch of cayenne. For an extra light and crispy texture, consider adding a tablespoon of cornstarch or baking powder to your flour mixture. Cornstarch helps achieve extra crispiness, while baking powder reacts with the heat to create small air pockets in the coating, making it lighter. This simple addition can elevate your home chef fried chicken significantly.
Wet vs. Dry Hands
When breading, try to designate one hand as your “wet hand” and the other as your “dry hand.” Your wet hand handles the chicken coming out of the brine/buttermilk. Your dry hand handles the chicken in the seasoned flour. This prevents your hands from becoming caked with a gummy mixture, making the breading process much cleaner and more efficient. It’s a small tip, but it makes a big difference for any home chef tackling fried chicken.
Tip: Chill for Adherence
After breading, if you have the time, place the breaded chicken on a wire rack set over a baking sheet and refrigerate it for 20-30 minutes. This allows the breading to “set” and adhere more firmly to the chicken, reducing the chances of it falling off during frying. This simple chilling step ensures a more uniform and crispy crust on your home chef fried chicken.
The Art of Frying: Temperature, Oil, and Technique
Frying can seem intimidating, but with the right knowledge and a little practice, it becomes a controlled and enjoyable process. The goal is to achieve chicken that is golden brown and crispy on the outside, and thoroughly cooked, tender, and juicy on the inside. This is where the home chef truly shines.
Choosing the Right Oil
The type of oil you use significantly impacts the flavor and quality of your home chef fried chicken. Opt for oils with a high smoke point and a neutral flavor. Good choices include peanut oil, canola oil, vegetable oil, or grapeseed oil. Avoid olive oil or butter, as they have low smoke points and will burn easily, imparting an unpleasant taste. You’ll need enough oil to submerge at least half of the chicken pieces you’re frying at any given time.
Temperature Control is Key
This is perhaps the most crucial aspect of perfect frying. Invest in a good deep-fry thermometer.
Start by heating your oil to around 350-375°F (175-190°C). This initial higher temperature helps to quickly set the crust and get it golden.
Once you add the chicken, the oil temperature will drop. Adjust your heat to maintain a consistent temperature, ideally around 325-350°F (160-175°C) for the majority of the cooking time. If the oil is too hot, the outside will burn before the inside cooks. If it’s too cool, the chicken will absorb too much oil and become greasy and soggy. Mastering this balance is what truly sets a great home chef fried chicken apart.
Don’t Crowd the Pan
Frying in batches is essential. Overcrowding the pot or skillet will drastically drop the oil temperature, leading to greasy, soggy chicken that cooks unevenly. Give each piece enough space to fry properly without touching. A general rule is to fry 3-4 pieces at a time, depending on the size of your pot. Patience here will be rewarded with superior home chef fried chicken.
Knowing When It’s Done
Cooking times vary depending on the size of the chicken pieces. Drumsticks and thighs typically take 10-15 minutes, while breasts can take 12-18 minutes. The best way to ensure doneness is with an instant-read thermometer. Chicken is safely cooked when it reaches an internal temperature of 165°F (74°C). The crust should be a rich golden brown. Remove chicken to a wire rack set over a baking sheet to drain excess oil and prevent sogginess.
Practical Example: Step-by-Step Frying Guide
- Heat 2-3 inches of high smoke point oil in a heavy-bottomed pot or Dutch oven to 350-375°F (175-190°C).
- Carefully lower 3-4 breaded chicken pieces into the hot oil using tongs. Do not crowd the pot.
- Fry for 6-8 minutes, then carefully flip the chicken pieces.
- Continue frying for another 6-10 minutes, adjusting heat to maintain 325-350°F (160-175°C), until the chicken is golden brown and cooked through (internal temperature 165°F / 74°C).
- Remove chicken from oil and place on a wire rack set over a baking sheet to drain.
- Allow to rest for at least 5 minutes before serving for optimal juiciness. This resting period is crucial for perfect home chef fried chicken.
Elevating Your Home Chef Fried Chicken: Beyond the Basics
Once you’ve mastered the fundamentals, it’s time to explore ways to personalize and elevate your home chef fried chicken. This is where your creativity as a home chef truly shines, adding your unique touch to a classic dish.
Flavor Variations
Don’t be afraid to experiment with your spice blends.
- Spicy Kick: Add extra cayenne pepper, a pinch of ghost pepper powder, or a dash of hot sauce to your buttermilk brine for a fiery version.
- Herbal Infusion: Incorporate dried thyme, rosemary, or sage into your flour mixture for an aromatic twist.
- Regional Flavors: Explore blends like Cajun seasoning, Old Bay, or even a touch of five-spice powder for an adventurous global take on home chef fried chicken.
Sides That Sing
No plate of home chef fried chicken is complete without its classic companions.
- Creamy Coleslaw: A cool, crisp coleslaw provides a refreshing contrast to the rich fried chicken.
- Fluffy Mashed Potatoes: Perfect for soaking up any pan drippings or gravy.
- Warm Biscuits: A flaky, buttery biscuit is essential for a true Southern-style meal.
- Macaroni and Cheese: A decadent, cheesy side adds another layer of comfort.
Garnish and Presentation
A little effort in presentation goes a long way. Garnish your platter with fresh parsley or chives for a pop of color. Serve your home chef fried chicken with lemon wedges on the side; a squeeze of fresh lemon juice can cut through the richness and brighten the flavors. Consider serving it family-style on a large platter for a rustic and inviting presentation.
Tip: Rest Your Chicken!
We mentioned it before, but it bears repeating. After frying, *always* let your chicken rest on a wire rack for at least 5-10 minutes. This allows the juices to redistribute throughout the meat, resulting in incredibly juicy chicken. It also helps the crust stay crispy by allowing steam to escape, preventing it from getting soggy. This simple step is non-negotiable for superior home chef fried chicken.
Common Pitfalls and Troubleshooting
Even the most seasoned home chef can encounter issues. Knowing how to prevent them and troubleshoot when they arise is part of the learning process.
Soggy Skin Solutions
The dread of soggy skin! This usually happens if the oil temperature is too low, causing the chicken to absorb too much oil, or if it steams instead of crisps.
Solution: Ensure your oil is at the correct temperature before adding chicken and maintain it throughout. Don’t overcrowd the pot. After frying, always drain chicken on a wire rack, not paper towels, to allow air circulation. If reheating, use an oven or air fryer, not a microwave, to crisp up the skin again.
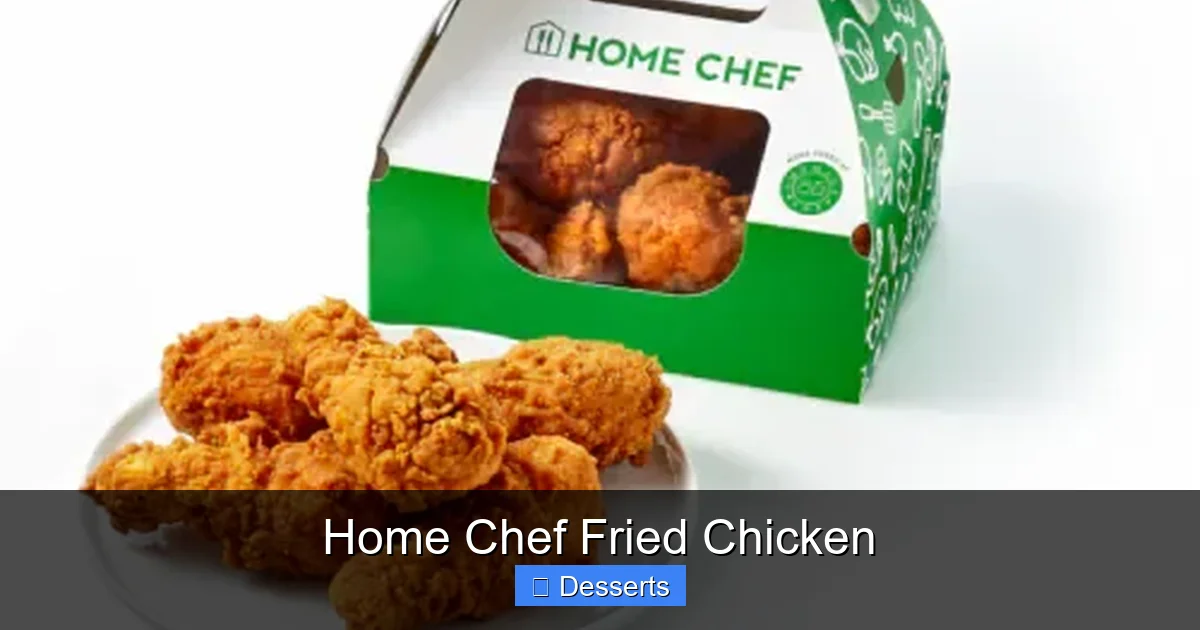
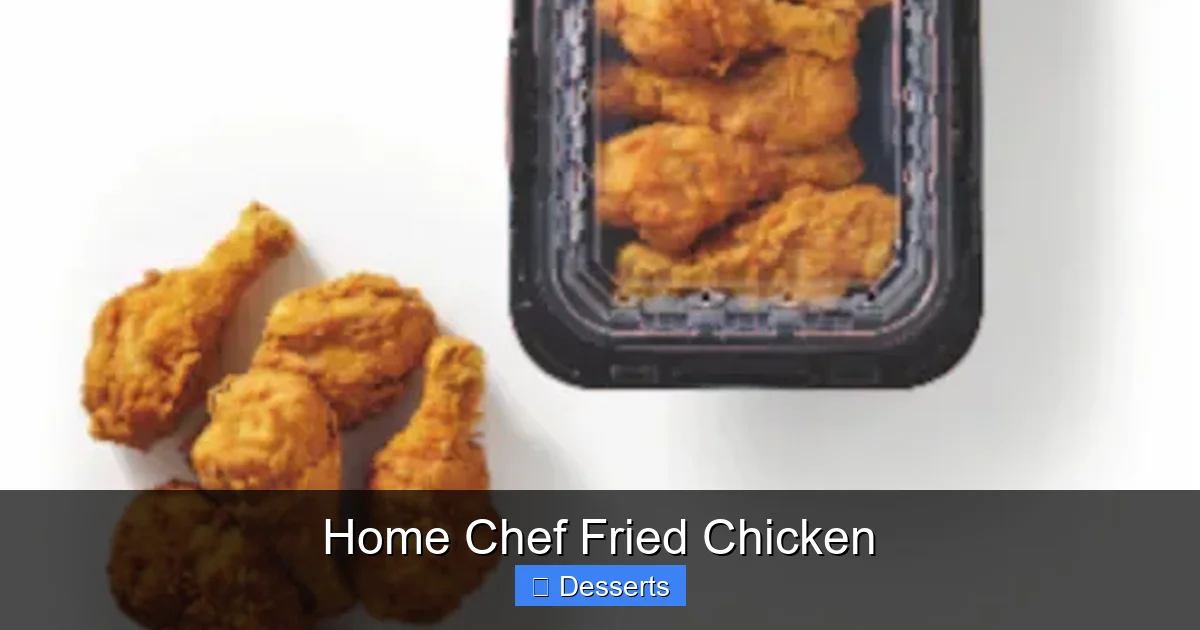
Visual guide about Home Chef Fried Chicken
Image source: kroger.com
Uneven Cooking Fixes
Sometimes one part of the chicken is perfectly done, while another is undercooked or overcooked.
Solution: Cut chicken pieces into relatively uniform sizes before cooking. Use a reliable thermometer to monitor oil temperature and internal chicken temperature. Rotate chicken pieces in the oil as needed to ensure even browning and cooking. Brining also helps to achieve more even cooking by breaking down proteins.
Over-Seasoning Avoidance
Too much salt or spice can ruin a batch.
Solution: Start with a balanced seasoning blend for your brine and flour. Taste your flour mixture before adding chicken (a tiny pinch, not a full spoonful!). Remember that some spices intensify with cooking. If using store-bought blends, check their salt content. For your home chef fried chicken, balance is key.
Safe Handling Practices
Working with raw chicken and hot oil requires vigilance.
Solution: Always wash hands thoroughly after handling raw chicken. Use separate cutting boards and utensils for raw chicken to prevent cross-contamination. Ensure oil is heated slowly and never fill the pot more than halfway to prevent boil-overs. Have a fire extinguisher nearby and never leave hot oil unattended. Safety first for every home chef!
Conclusion
Mastering home chef fried chicken is a deeply rewarding culinary achievement. It’s a journey that takes you from carefully selecting ingredients to skillfully managing hot oil, culminating in a dish that brings smiles and satisfaction to everyone at the table. We’ve covered everything from the foundational importance of brining and the art of crafting a perfect crispy crust, to the precise techniques of frying and how to elevate your creation with thoughtful variations and complementary sides.
Remember, every great home chef knows that practice makes perfect. Don’t be discouraged by initial attempts that might not be flawless. Each batch is a learning experience, an opportunity to refine your touch, adjust your seasonings, and hone your frying instincts. With patience, attention to detail, and the comprehensive guide you’ve just read, you are now well-equipped to embark on your own delicious adventure. Go forth, embrace your inner chef, and prepare to delight in the incomparable joy of truly magnificent home chef fried chicken!
Frequently Asked Questions
What kind of chicken pieces are best for home chef fried chicken?
For home chef fried chicken, a mix of bone-in, skin-on pieces like drumsticks, thighs, and wings is often preferred for their flavor and juiciness. Breast pieces are also delicious but can dry out more easily if overcooked.
Do I need a deep fryer to make fried chicken?
No, a deep fryer is not strictly necessary. A heavy-bottomed pot or Dutch oven (like cast iron) that holds heat well is perfectly suitable for making excellent home chef fried chicken on your stovetop.
Can I reuse the frying oil after making fried chicken?
Yes, you can reuse frying oil. Once cooled, strain the oil through a fine-mesh sieve or cheesecloth to remove any food particles, then store it in an airtight container in a cool, dark place. You can typically reuse it 2-3 times, depending on what was fried.
How can I make my home chef fried chicken spicier?
To make your fried chicken spicier, add extra cayenne pepper or a dash of your favorite hot sauce to the buttermilk brine. You can also incorporate chili powder or smoked paprika into your seasoned flour mixture for a deeper, spicier flavor profile.
What’s the secret to extra crispy home chef fried chicken?
The secret to extra crispy home chef fried chicken lies in a few key steps: use a double-dredge method for breading, add a tablespoon of cornstarch or baking powder to your flour mix, ensure your oil is at the correct temperature, and allow the chicken to rest on a wire rack after frying.
Why is my home chef fried chicken sometimes greasy?
Greasy fried chicken is usually a sign that the oil temperature was too low. When the oil isn’t hot enough, the chicken absorbs too much oil instead of forming a quick, crisp crust. Always use a thermometer to maintain the ideal frying temperature.
geminichef.com is a participant in the Amazon Services LLC Associates Program, an affiliate advertising program. As an Amazon Associate, we earn from qualifying purchases made through our links.